
This article describes the glossary feature of MinervaKB Knowledge Base for WordPress.
The glossary allows you to define terms and their descriptions which will be highlighted in your knowledge base guides automatically. This is especially helpful when your knowledge base contains many terms that might not be obvious for your site visitors.
You can check the following link for an example of a glossary on Wikipedia.
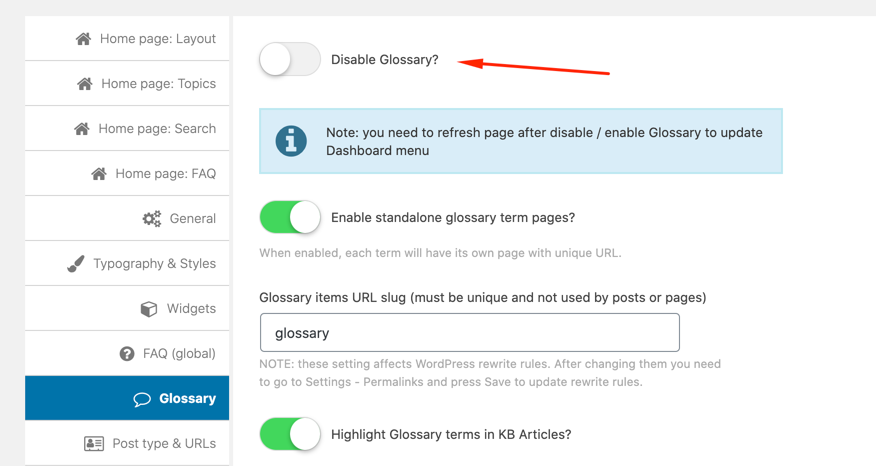
If you don’t need this feature, you can always disable it using this option:
Adding new terms
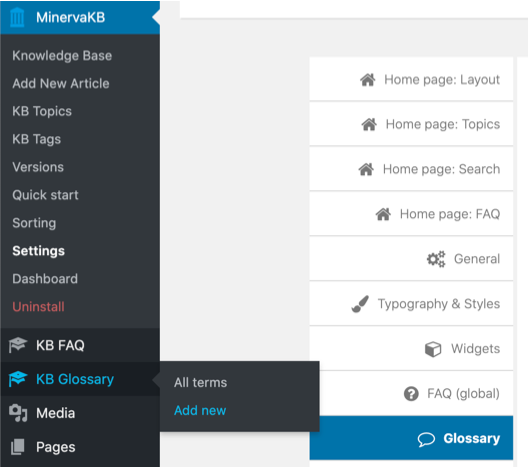
When you have glossary enabled, you can see the appropriate menu item in the WordPress dashboard, under the MinervaKB menu. It has similar structure to the knowledge base or blog posts – you can view the terms list or add new terms.
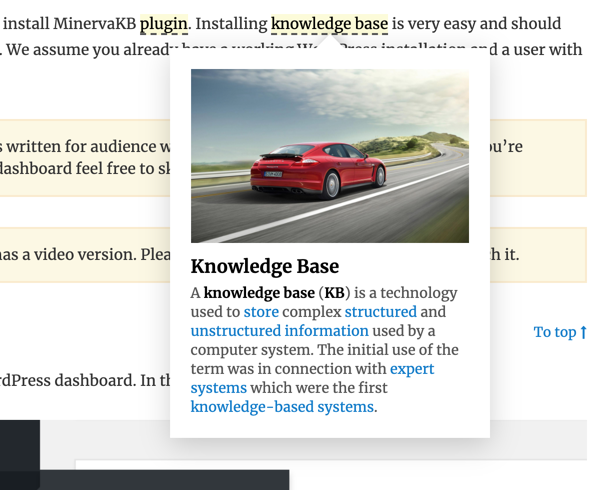
The term edit screen is very similar to your blog post edit screen and depends on which editor you use (Classic or Gutenberg). The title is used as a term name and the content is used for term description. You can add HTML in term descriptions as well.
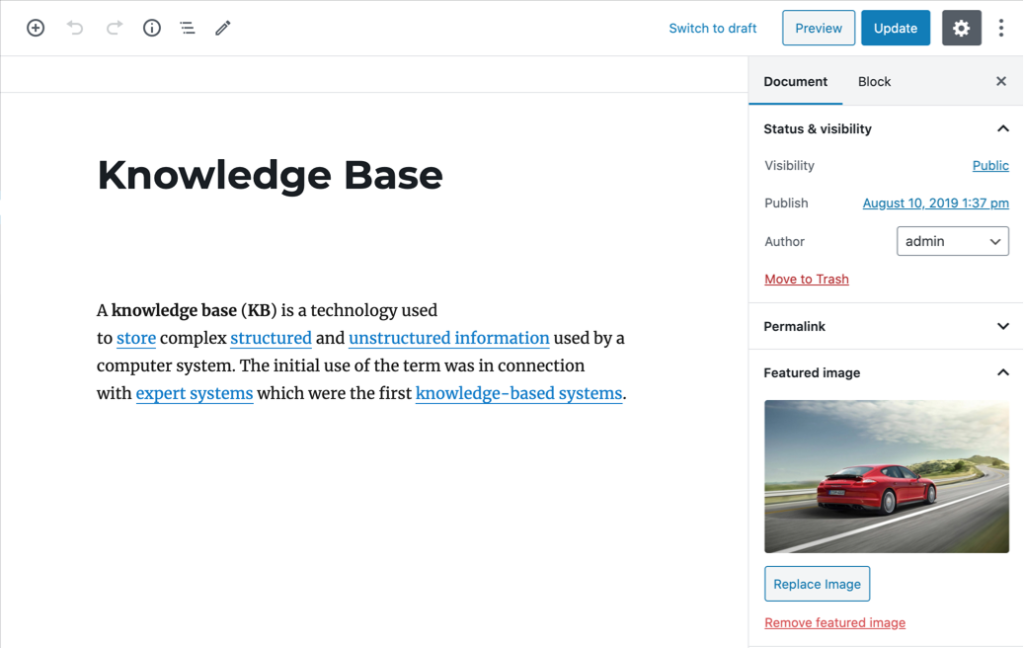
Note that you can also use the featured image if the term can be better described with an image.
If there is more than one term that matches the description or there are different ways to use the term in the text, you can add synonyms in the textbox under the description. All the synonyms will be highlighted in the article as well.
Automatic highlighting
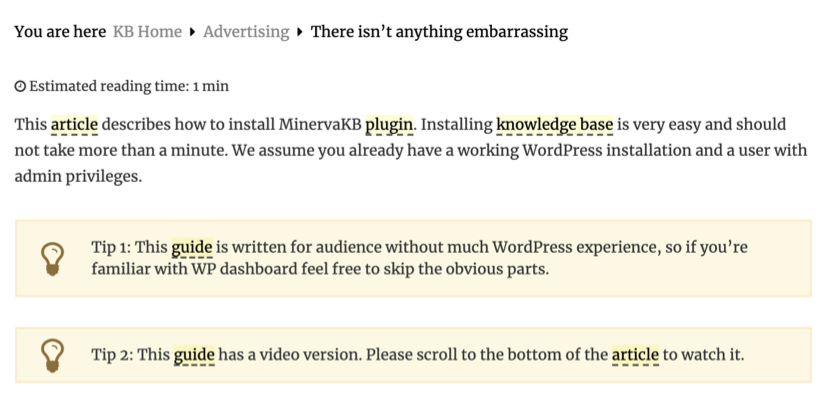
When you have finished editing, press the Publish button to add the term to your system. Once the term is added, it will be highlighted in your knowledge base articles.
You can customize the style (color, background, and underline) of the highlighted links in settings to better match your site design.
The terms are highlighted after the page loads on the client-side, so there’s no additional load on the server.
When the visitor hovers the highlighted link with the cursor the system loads the term description and shows it as a tooltip. The tooltips are cached on the client-side, so there’s only one request per each term during the page view session.
Glossary list
You can also display all the terms grouped by their letters on a separate page using the following shortcode:
[mkb-glossary]This will display all the terms and descriptions registered in your system. The visitor will be able to navigate easily between the table of contents and individual terms using the links.

Since version 1.6.8 of MinervaKB, you can also include term matches in Live Search results as a separate group. When this option is enabled the search will try to locate the term list on the current page and scroll to it when the user selects it. If there is no list on the page it will link to the term standalone page (can be activated in settings).
You can optionally allow to highlight terms in blog posts. Note that this is experimental and might not work well with all themes.